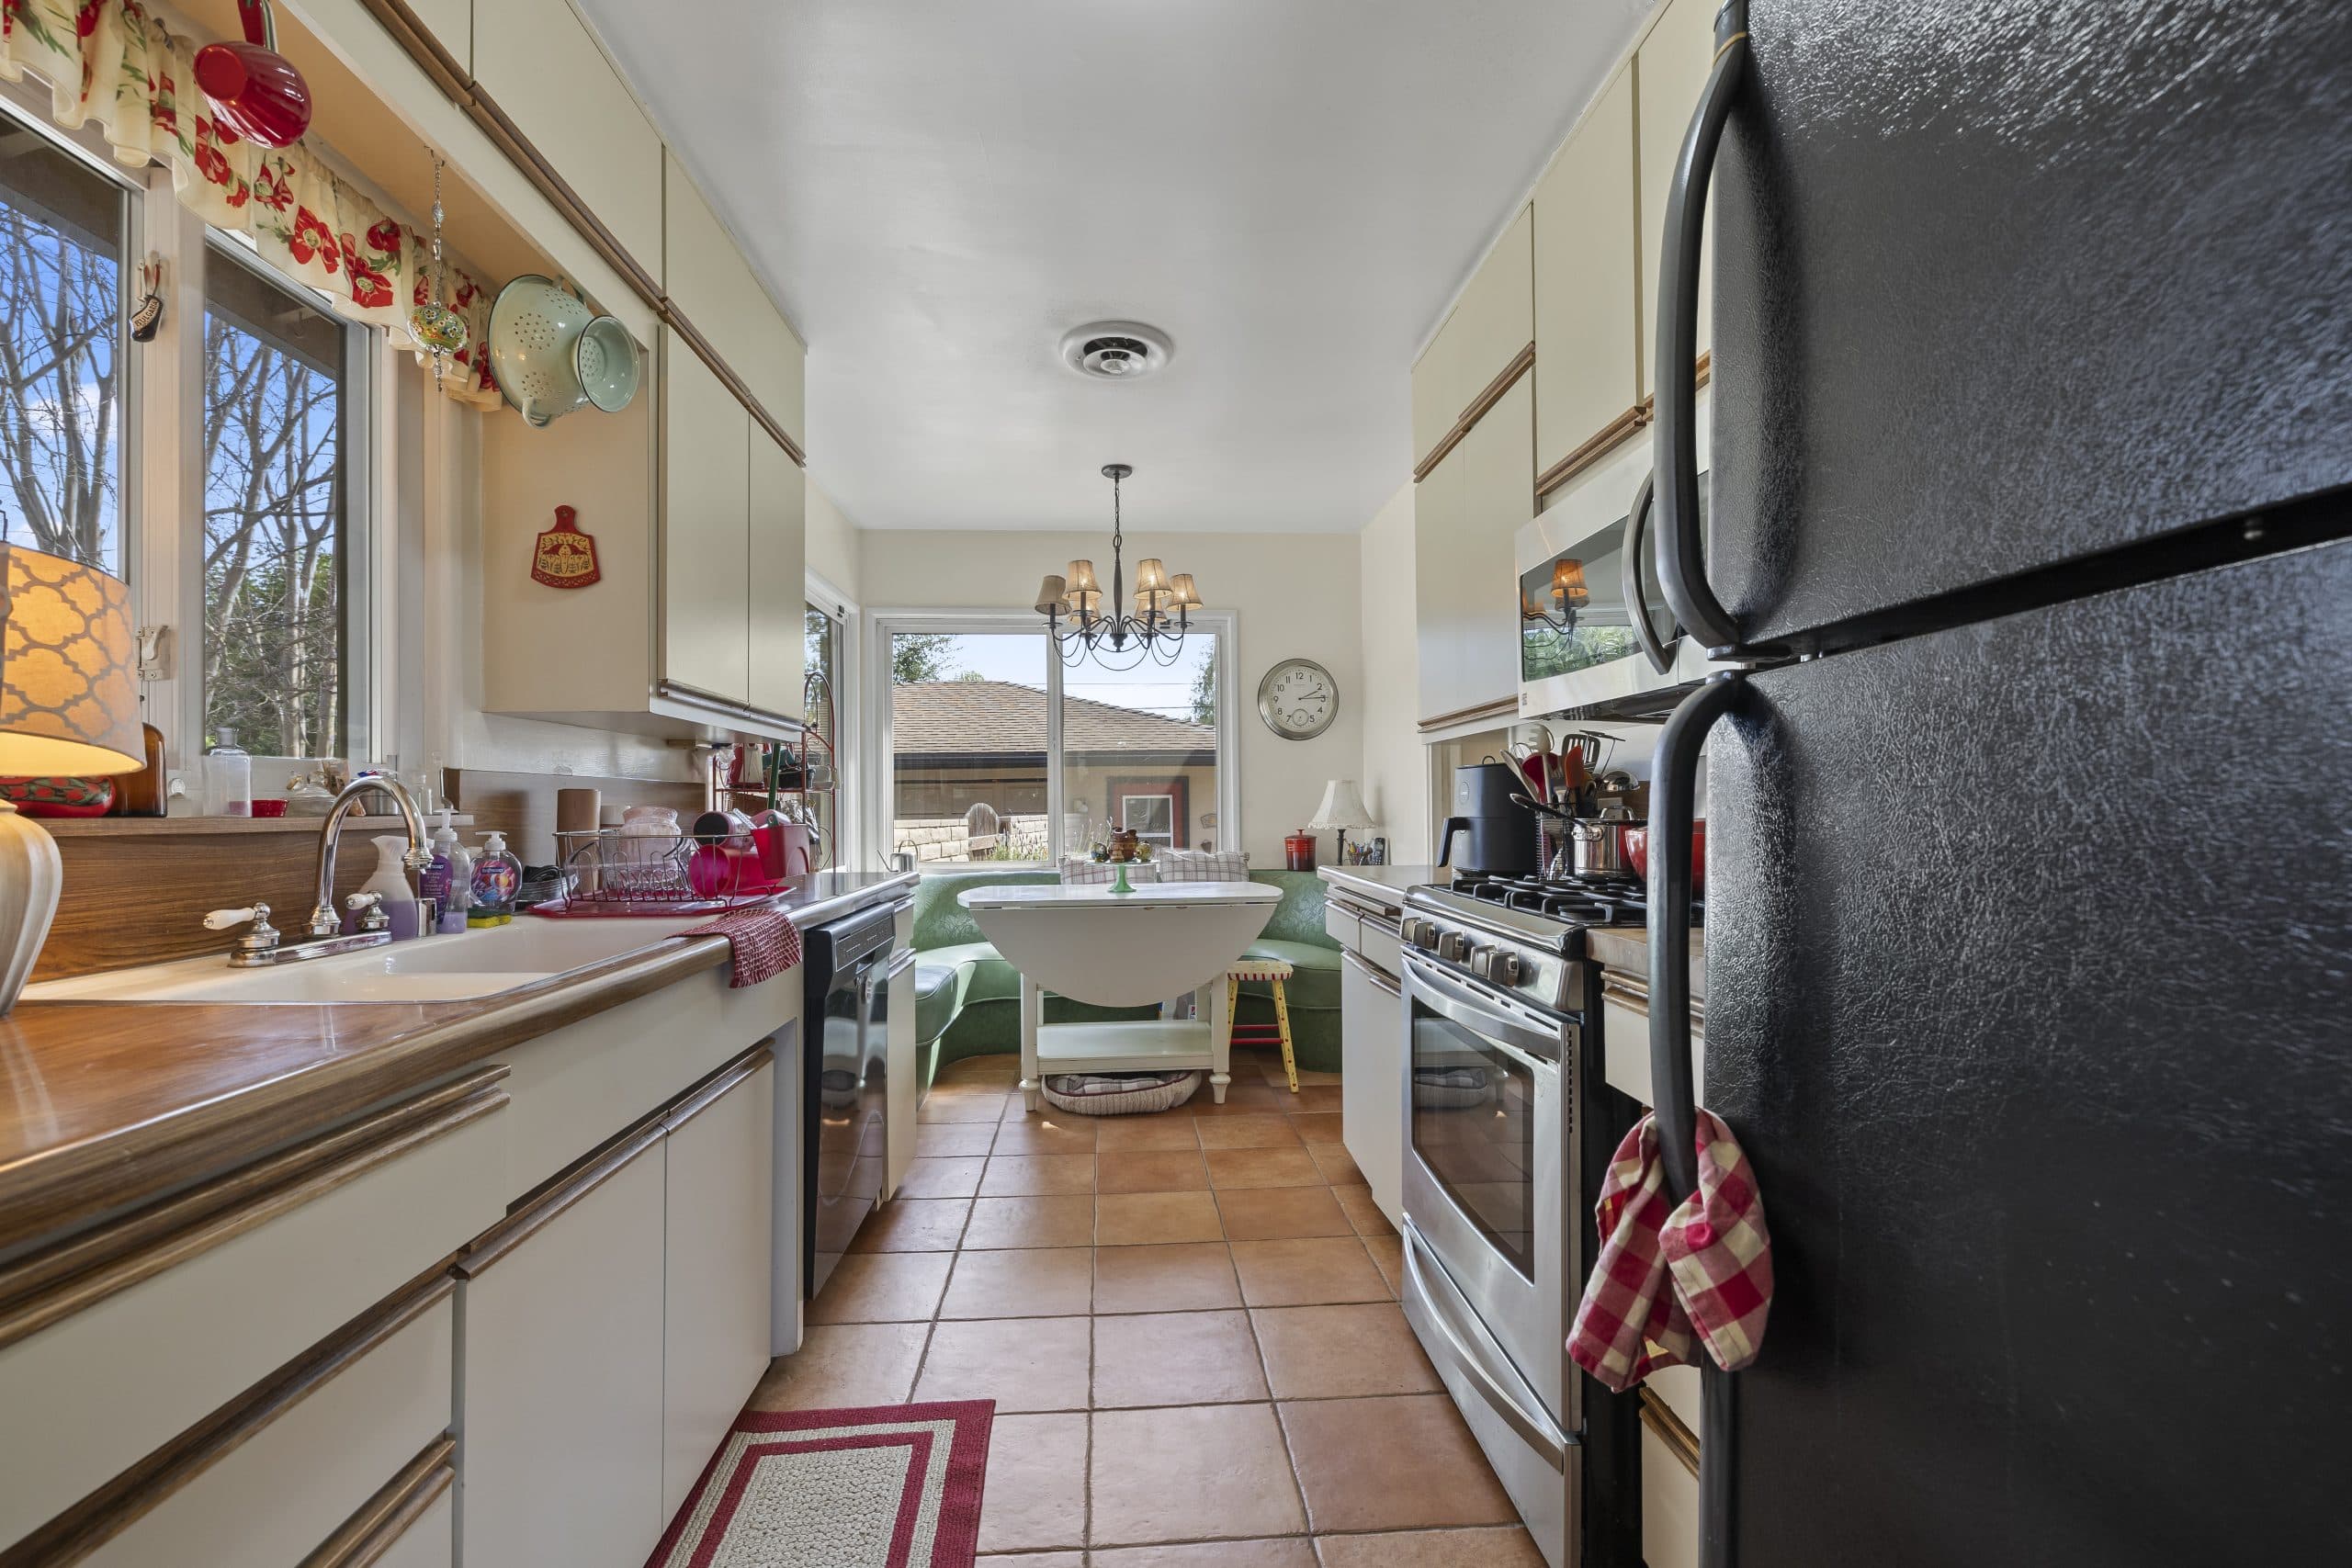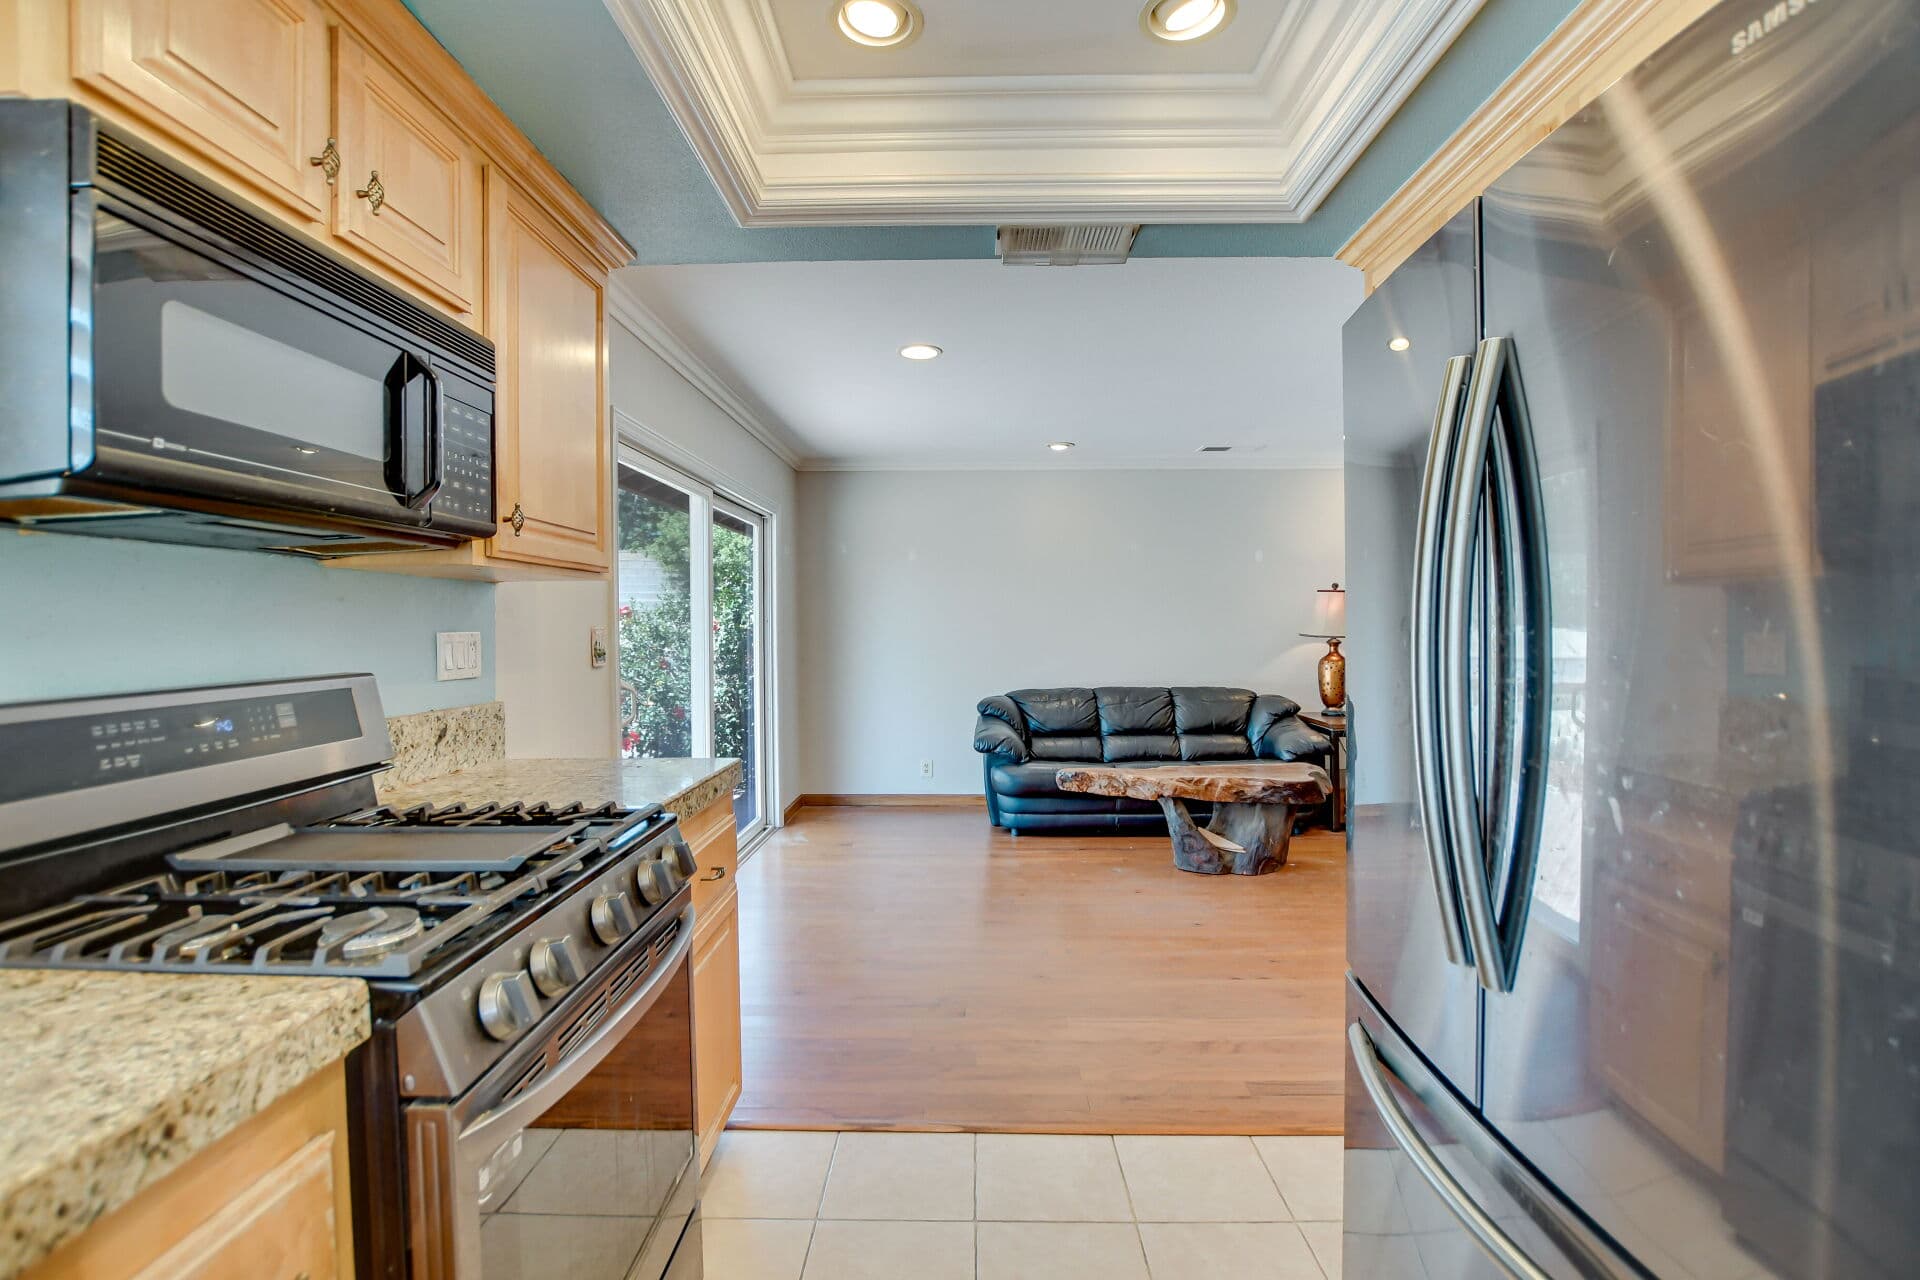
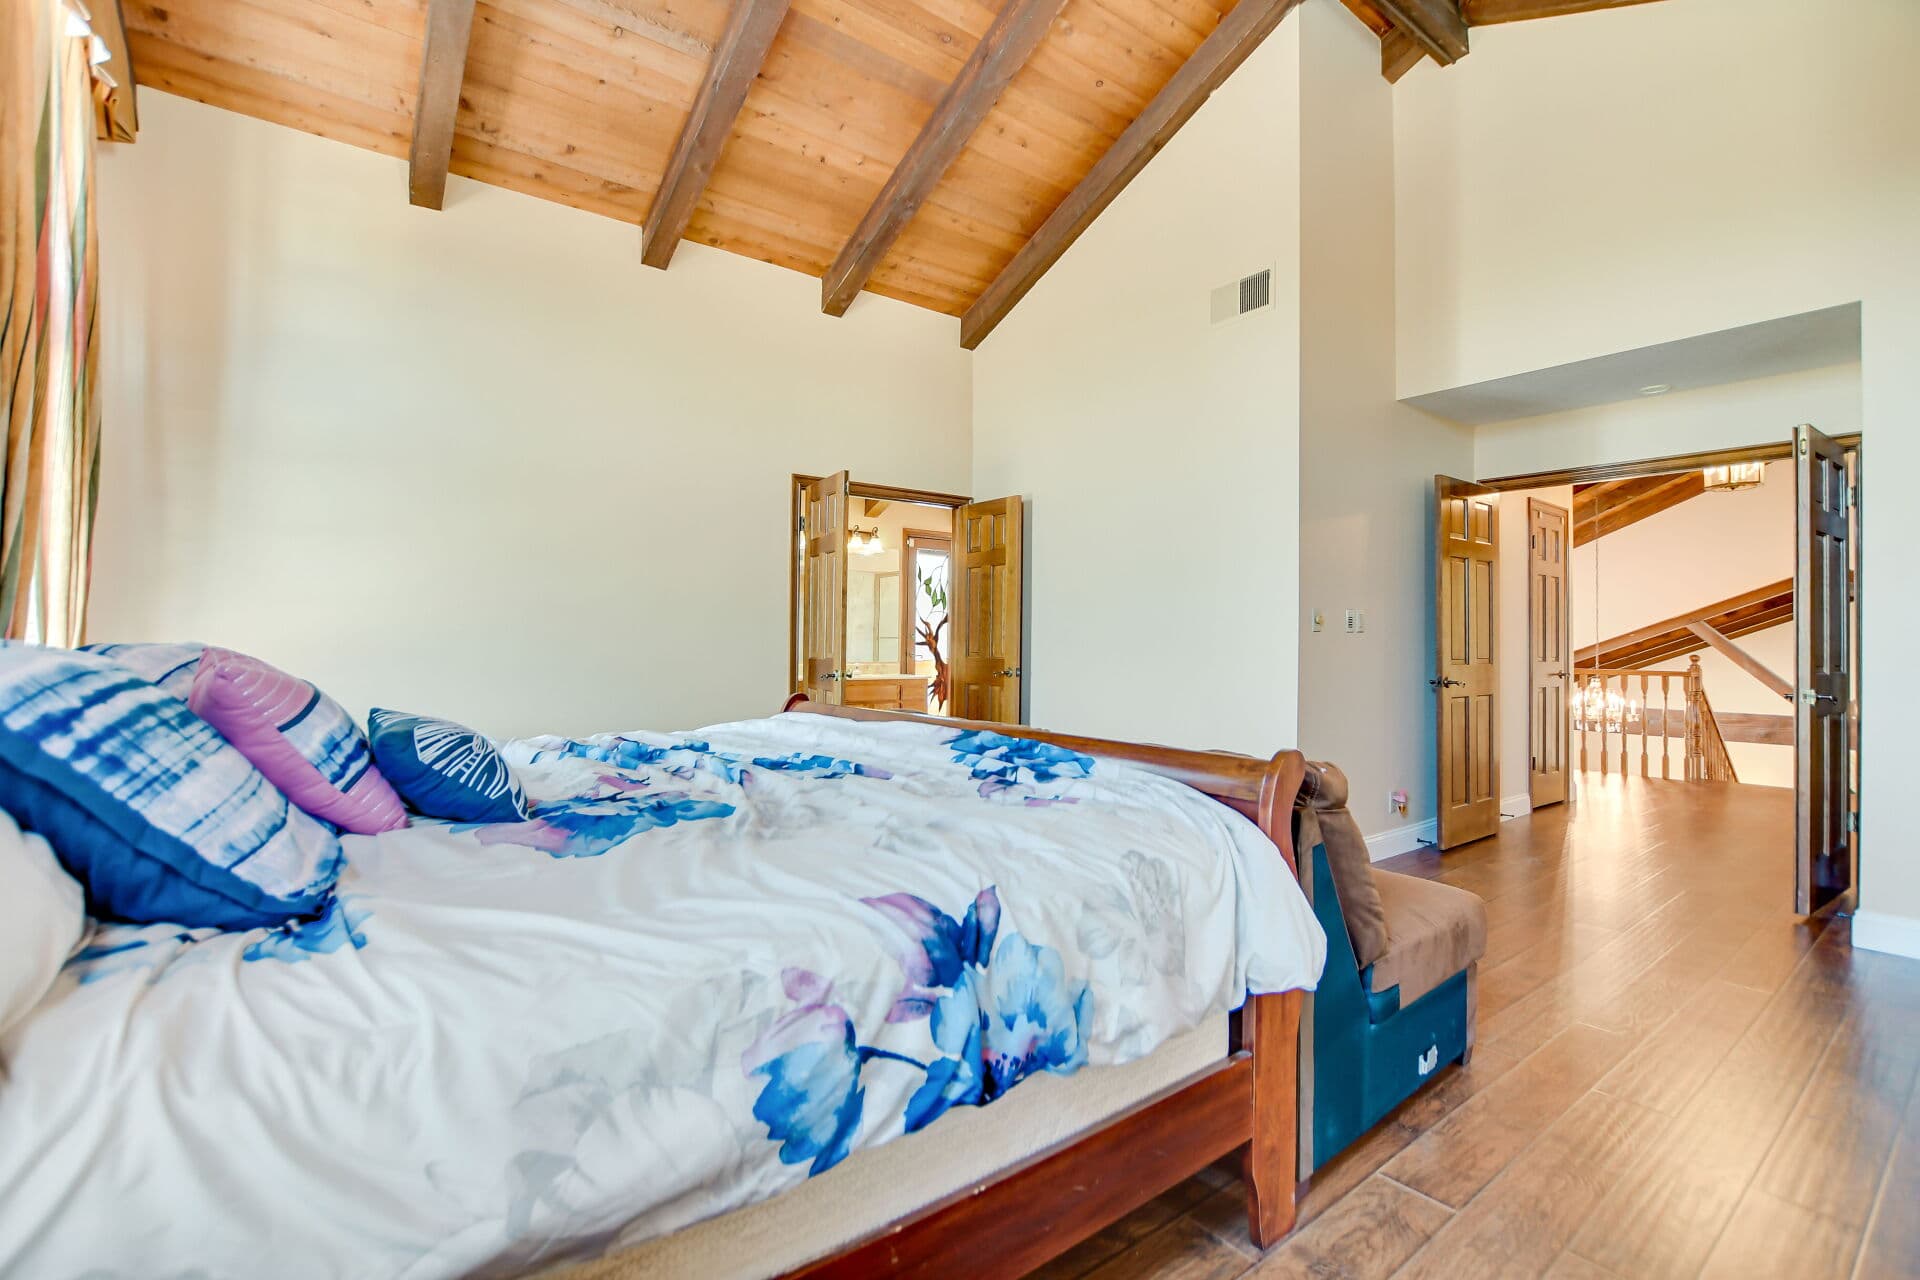
A well-designed house can photograph badly, and a plain one can photograph beautifully. That gap is not luck. It is a set of decisions about light, angle, and framing that either explain the building or flatten it.
This matters more in a town whose housing stock is genuinely interesting, because a photograph that fails to show the architecture is throwing away the thing that distinguishes the house. It deepens the architecture guide.
Light is the whole decision
Architecture is read through SHADOW. Depth, relief, texture, and modelling all come from raked light hitting a surface at an angle. Flat midday overhead light removes all of it, which is why a house shot at noon looks like a drawing of itself.
The practical rule: shoot the front when the sun is actually on it, early or late, and let the low angle pull the eaves, brackets, and wall texture into relief. On a Craftsman that reveals the entire detail vocabulary the porch guide describes. On a Mediterranean house it gives depth to the arches and thickness to the walls.
Overcast light is not a disaster - it is soft and even, good for interiors and for houses with strong color - but it will not produce drama on an exterior.
The canopy problem, which is local
Claremont's shade is a photographic complication. Dappled light through a mature canopy throws hard bright patches across a facade and produces a mottled, distracting image, even though the same light is lovely in person.
The fixes are timing and patience. Shoot when the house is in even shade or in even sun, not half of each. On heavily treed lots that window can be narrow, and it is worth waiting for. The canopy itself is worth including as part of the composition rather than treated as an obstruction, since it is genuinely part of the setting, as the canopy guide argues.
Angle and the vertical line
Two habits fix most amateur exteriors.
KEEP THE VERTICALS VERTICAL. Tilting the camera up makes the walls converge and the house appear to fall backwards. Stand further back, keep the camera level, and crop afterwards rather than tilting.
SHOOT FROM A CORNER, NOT DEAD ON. A straight-on facade shot flattens the building into a card. A three-quarter view shows two planes at once and the massing becomes legible - which is what a viewer needs in order to understand the form.
Camera height matters too. Roughly standing eye level, or slightly below, is usually right for a house. Higher makes the roof dominate and shrinks the entry.
What to include on purpose
The APPROACH. A photograph that starts at the sidewalk and leads along the walk to the door tells a story a facade shot cannot, which is the sequence set out in the entry sequence guide.
THE ROOFLINE against sky, since pitch and eave are what date and characterize the building.
ONE OR TWO DETAIL SHOTS. A bracket, a tile field, a stair newel, a window mullion. Detail images carry more character per frame than another wide angle of the same room.
THE RELATIONSHIP TO THE LOT, so a viewer understands how the house sits rather than only what it looks like.
Interiors: light first, wide angle second
The instinct is to shoot every room from the corner with the widest lens available. That distorts proportion, stretches the near furniture, and makes rooms unrecognizable when a buyer eventually stands in them.
Shoot with a moderate width, keep verticals straight, and let daylight lead. Turn on lamps for warmth rather than relying on ceiling fixtures, since layered light flatters period surfaces exactly as it does in person. And point the camera at what the room does best - the fireplace, the built-ins, the glazing - rather than trying to include all four walls.
The shot list worth keeping
For any house worth documenting, a compact list covers it. One three-quarter exterior in raked light. One straight-on roofline against sky. One view along the approach toward the door. Two or three details that carry the era. One image showing the house in its lot. And for interiors, the rooms that do something - the volume, the glazing, the fireplace, the built-ins - rather than a systematic march through every doorway.
That is a dozen or so frames. It will explain a building better than fifty wide angles taken at noon.
Etiquette and honesty
Photograph from public ground when the house is not yours, keep the frame on the street rather than into windows, and do not enter private property for a better angle. The same rules that apply on an architecture walking tour apply behind a camera.
For a listing, the further obligation is accuracy. Images should represent the property as it is; the point of good photography is to let a genuinely good house be understood, not to manufacture one that does not exist. This is general information about photographing buildings; marketing materials for a specific sale should be prepared with the professionals handling it.
Anthony Grynchal has been licensed in California since November 2009.
Frequently asked questions
What time of day is best for photographing a house?
Early or late, when low sun rakes across the facade. Architecture is read through shadow, and raked light brings out eaves, brackets, wall texture, and depth. Flat midday overhead light removes the modelling and makes a house look like a drawing of itself.
Why do photos of shaded Claremont homes look mottled?
Dappled light through a mature canopy throws hard bright patches across the facade. The image reads as busy even though the same light looks lovely in person. Wait for a moment when the house is in even shade or even sun rather than half of each.
How do I stop a house from looking like it is falling backwards?
Keep the camera level rather than tilting it up, which makes vertical walls converge. Stand further back and crop afterwards. Also shoot from a corner rather than straight on, so two planes are visible and the massing is legible.
What is the most common mistake in interior photos?
Shooting every room from a corner with the widest possible lens. It distorts proportion and stretches near furniture, so rooms look unfamiliar in person. Use a moderate width, keep verticals straight, lead with daylight, and add lamp light rather than ceiling fixtures.

Written by
Anthony Grynchal
Anthony Grynchal is a California real estate professional with eXp Realty, licensed since November 2009 (California DRE# 01873626), and the Designated Local Expert™ for Claremont — where he has lived for more than 33 years.
More about AnthonyPublished · Updated